 Pin it
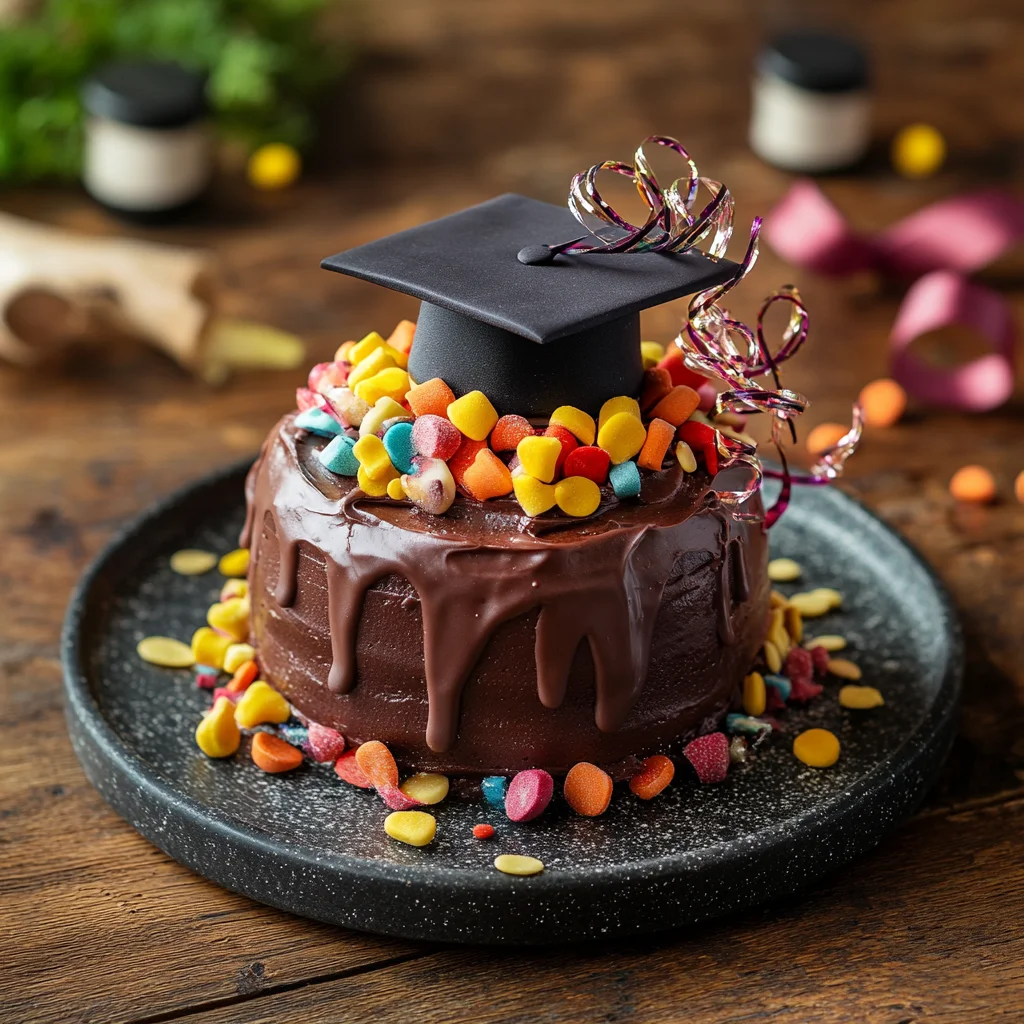
This graduation cake transforms a simple dessert into a memorable celebration centerpiece with its fondant cap and diploma. I created this for my niece's high school graduation and it became such a hit that I now make it for every graduation in our family.
I first made this cake for my niece's high school graduation when I couldn't find anything affordable at local bakeries. What started as a money-saving project turned into a treasured tradition our family looks forward to each graduation season.
Ingredients
- Yellow sheet cake mix: Two boxes for alternating layers that create visual interest when sliced
- Chocolate sheet cake mix: Two boxes for rich flavor contrast and beautiful layering effect
- Cotton candy cake mix: One box for the dome shape that forms the cap base
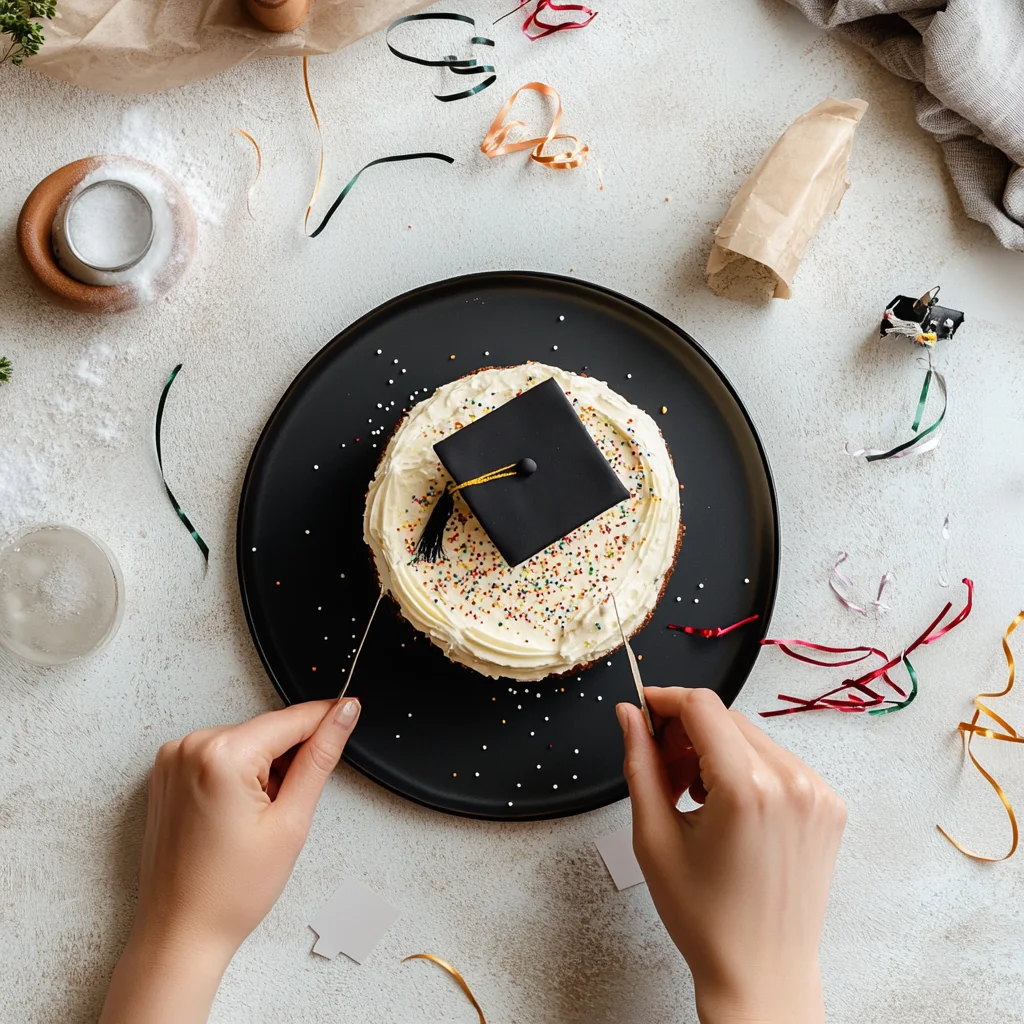
- American buttercream frosting: Ten cups tinted yellow with gel food coloring for school colors
- Marshmallow fondant: Four cups total with two cups black for the cap and two cups white for the diploma
- Rice krispie treats: One batch for creating the cylindrical diploma shape
- Red ribbon: A small piece for wrapping around the diploma for authentic look
- Bubble tea straws: For internal support of decorative elements
Step-by-Step Instructions
- Bake the cakes:
- Prepare and bake two yellow sheet cakes in 9x13 pans along with two chocolate sheet cakes of the same size. Also bake one cotton candy dome cake with 5 inch diameter for the cap. Allow all cakes to cool completely before decorating. Save any leftover cotton candy batter for cupcakes.
- Create the buttercream:
- Prepare ten cups of American buttercream frosting and tint it yellow using gel food coloring. Gel colors provide vibrant shades without thinning your frosting consistency. Mix thoroughly to ensure even coloring throughout.
- Make the graduation cap:
- Place the dome cake on a matching size cake board and frost smoothly with buttercream. Chill for 20 minutes to set the frosting. Roll black fondant to about 1/8 inch thickness and drape over the chilled cake. Smooth fondant with your hands and a fondant smoother working from the top down. Trim excess along the base with a pizza cutter and insert a bubble tea straw in the center for support.
- Create the cap top:
- Cut a square piece of cardboard slightly larger than the dome cake. Color the edges with black edible marker to hide any visible cardboard. Spread a thin layer of buttercream on top and cover with rolled black fondant. Trim excess fondant along the sides. Cut a small fondant circle and attach it at the center of the square with corn syrup. Fold a ribbon in half and secure under the circle. Attach the completed square to the dome cake using melted chocolate or thick royal icing.
- Craft the diploma:
- Shape rice krispie treats into a cylinder approximately 6 inches long and 1.5 inches in diameter. Spread a thin layer of buttercream over the entire surface. Roll out white fondant into a rectangle and wrap around the iced rice krispie treat. Trim excess with a sharp knife. Cut two white fondant circles to cap each end of the diploma and secure with buttercream. Wrap a red ribbon around the center of the diploma for a finishing touch.
- Assemble the cake:
- Place two chocolate sheet cakes side by side on a large rectangular cake board. Spread a layer of buttercream on top. Position the two yellow sheet cakes over the chocolate layer and frost the entire cake smoothly with yellow buttercream. Fill a piping bag with remaining yellow frosting and attach a large star tip. Pipe decorative roses around the sides and top of the cake. Insert support straws where you plan to place the cap and diploma then position these decorative elements on top of the cake.
- Add finishing touches:
- Cut out fondant letters spelling "Congratulations Class of 2024" using cookie cutters and arrange them on the cake board securing with small dabs of buttercream. Steam the entire cake lightly to remove any powdered sugar residue and give the fondant a professional sheen.
 Pin it
The marshmallow fondant is my favorite element of this cake because it tastes so much better than store bought. I learned this recipe from my grandmother who always said homemade fondant was worth the extra effort. When I made this cake for my son's college graduation last year, even the fondant haters in our family scraped their plates clean.
Storage Tips
Prepare cake components up to three days in advance and store unfrosted layers wrapped tightly in plastic at room temperature. Once assembled, the cake should be displayed at room temperature for best fondant texture. Refrigeration will cause the fondant to become sticky and lose its matte appearance. Leftover cake can be stored in the refrigerator for up to three days in a sealed container, though fondant quality will diminish.
Easy Customization Options
This basic design can be adapted for any graduation theme by changing the colors to match school colors. For elementary school graduations, use brighter primary colors and perhaps smaller individual cakes. For college graduations, consider adding the school mascot or logo if you have advanced decorating skills. The cake flavor combinations are endless too. Try red velvet with cream cheese frosting or chocolate with peanut butter buttercream for unique flavor profiles.
Serving Suggestions
This cake serves best when cut with a sharp knife dipped in hot water between slices. For cleaner cuts, chill the cake briefly before slicing but serve at room temperature for best flavor. Present on a decorated table with photos of the graduate and other memorabilia. Consider placing smaller cupcakes around the main cake for a dessert table that accommodates different taste preferences.
 Pin it
Frequently Asked Questions
- → What type of cake flavors should I use?
This recipe suggests yellow, chocolate, and cotton candy cakes, but you can substitute with your favorite flavors.
- → How can I ensure smooth fondant application?
Use a fondant smoother and sprinkle powdered sugar on your work surface to prevent stickiness.
- → Can I store the cake in the refrigerator?
Yes, leftovers can be stored in a sealed container for up to 3 days, but fondant decorations may become slightly sticky.
- → What tools do I need for this project?
You will need tools like a circle cutter, piping bags, a fondant smoother, and a pizza cutter for precise cuts.
- → Can I customize the decorations on the cake?
Absolutely! You can add personal messages, change the ribbon colors, or include additional embellishments for a unique look.