 Pin it
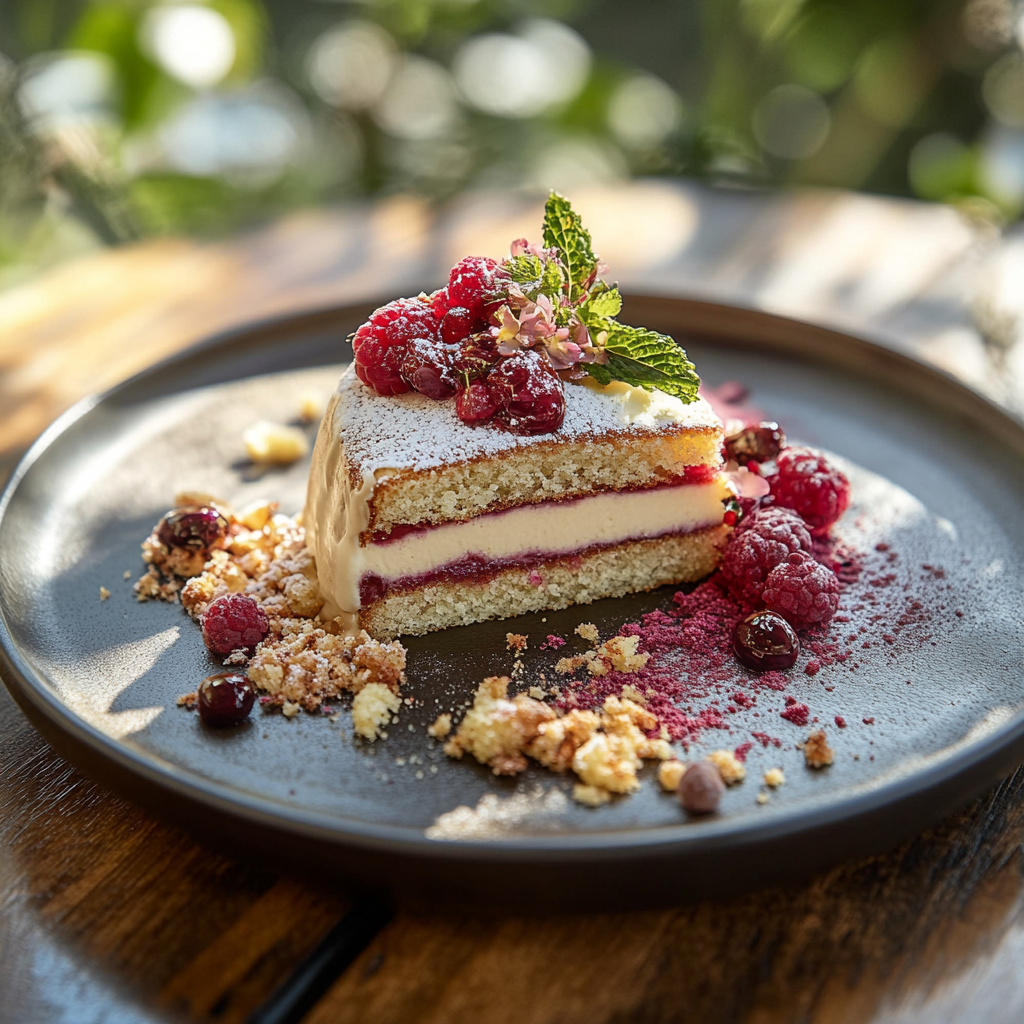
This hearty school cake brings back the sweetest memories of childhood cafeterias and bake sales. The simplicity of a vanilla sponge topped with classic white icing and colorful sprinkles creates a nostalgic treat that appeals to both kids and adults alike.
I first made this recipe when my nephew requested a "school dinner cake" for his birthday. The look of pure joy on his face when he saw those rainbow sprinkles took me right back to my own primary school days.
Ingredients
- Unsalted butter 400g: creates a rich moist texture that keeps the cake fresh for days
- Caster sugar 400g: provides the perfect sweetness and helps create a tender crumb
- Medium eggs 7 to 8: depending on size add structure and richness
- Self raising flour 400g: gives the perfect rise without needing additional leavening agents
- Vanilla extract 1 tsp: enhances the classic flavor try using real extract not essence for best results
- Icing sugar 500g: creates that signature smooth sweet topping that sets beautifully
- Water 4 to 5 tbsp: for achieving the perfect icing consistency
- Rainbow sprinkles: add that nostalgic colorful finish choose jimmies for the authentic look
Step-by-Step Instructions
- Prepare Your Baking Tin:
- Preheat your oven to 180ºC standard or 160ºC fan. Line your 9x13 inch traybake tin with parchment paper ensuring it comes up the sides for easy removal later. Allow a slight overhang for easy lifting.
- Create The Butter Base:
- In a large mixing bowl beat the unsalted butter and caster sugar together for at least 3 to 4 minutes until noticeably lighter in color and fluffy in texture. This incorporates air which helps create a light sponge so do not rush this crucial step.
- Combine The Remaining Ingredients:
- Add your eggs self raising flour and vanilla extract to the butter mixture. Beat everything together until just combined and smooth. Avoid overmixing at this stage as it can toughen the cake. The batter should fall slowly from a spoon when lifted.
- Bake To Perfection:
- Pour the cake batter into your prepared tin and smooth the top with a spatula. Bake in the preheated oven for 45 to 50 minutes. The cake is done when golden brown on top slightly pulling away from the sides and a skewer inserted into the center comes out clean.
- Cool Completely:
- Allow the cake to cool fully in the tin before attempting to ice it. This may take 1 to 2 hours depending on your kitchen temperature. Patience here prevents the icing from melting later.
- Create The Perfect Icing:
- Add the icing sugar to a medium bowl and gradually add water one tablespoon at a time mixing thoroughly between additions. The ideal consistency should be thick but just pourable think of honey on a cool day. Add the final tablespoon of water with particular care.
- Ice The Cake:
- Once your cake is completely cool carefully spread the icing across the top in an even layer. Work quickly before the icing starts to set using the back of a spoon or offset spatula to create a smooth finish.
- Add The Signature Sprinkles:
- While the icing is still wet generously scatter your rainbow sprinkles across the entire surface. Work quickly as the icing will begin to set and the sprinkles need to adhere properly.
- Set And Serve:
- Allow the icing to set completely for about an hour before slicing into generous squares. This patience ensures clean cuts and a professional finish.
 Pin it
You Must Know
The vanilla extract is my secret weapon in this recipe. While many rush past this ingredient I find that using a high quality real vanilla extract rather than artificial essence transforms this simple cake into something truly special. The aroma that fills the kitchen takes me straight back to standing eagerly in the school lunch queue hoping there would still be cake left when I reached the front.
Scaling Down For Smaller Households
If you have a smaller household or just want a more modest cake you can easily adapt this recipe. For a 9 inch square tin reduce the ingredients to 250g each of butter flour and sugar with 5 eggs. The baking time also reduces to approximately 35 minutes. The smaller size still delivers that authentic school cake taste without overwhelming your kitchen with leftovers.
Storage And Freshness Tips
This wonderful school cake maintains its moisture and flavor remarkably well. Store it in an airtight container at room temperature and it will remain delicious for 3 to 4 days. The icing creates a protective layer that helps preserve moisture in the sponge. If your kitchen is particularly warm consider storing in a cool spot but avoid refrigeration as this can dry out the cake.
Customization Ideas
While traditional rainbow sprinkles give that nostalgic school dinner feeling you can easily customize this cake for different occasions. Try chocolate sprinkles for a twist or themed colored sprinkles for holidays and birthdays. You can also add food coloring to the icing for special events or even divide the icing into portions and create a rainbow effect. During lemon season I sometimes add lemon zest to the batter and a splash of juice to the icing for a refreshing variation.
 Pin it
Frequently Asked Questions
- → What size traybake tin is best for this cake?
A 9x13-inch traybake tin is recommended for the perfect bake. Adjust the recipe for smaller or larger tins as needed.
- → Can I use different sprinkles?
Yes, you can use any sprinkles you like! Rainbow sprinkles add a fun touch, but feel free to customize.
- → How long does the cake last?
The cake will stay fresh for 3-4 days if stored in an airtight container.
- → What’s the best way to spread the icing?
Use a spatula or the back of a spoon to spread the thick icing evenly over the cooled cake for the best results.
- → Can I make this cake in a smaller tin?
For a 9-inch square tin, reduce the recipe to 5 eggs and 250g each of butter, sugar, and flour. Adjust baking time to approximately 35 minutes.